Cutting boards: material, cleaning and visible wear
The most useful cutting-board comparison includes stability, cleaning access and wear. Material alone does not organise food preparation for you.
Give different jobs enough space
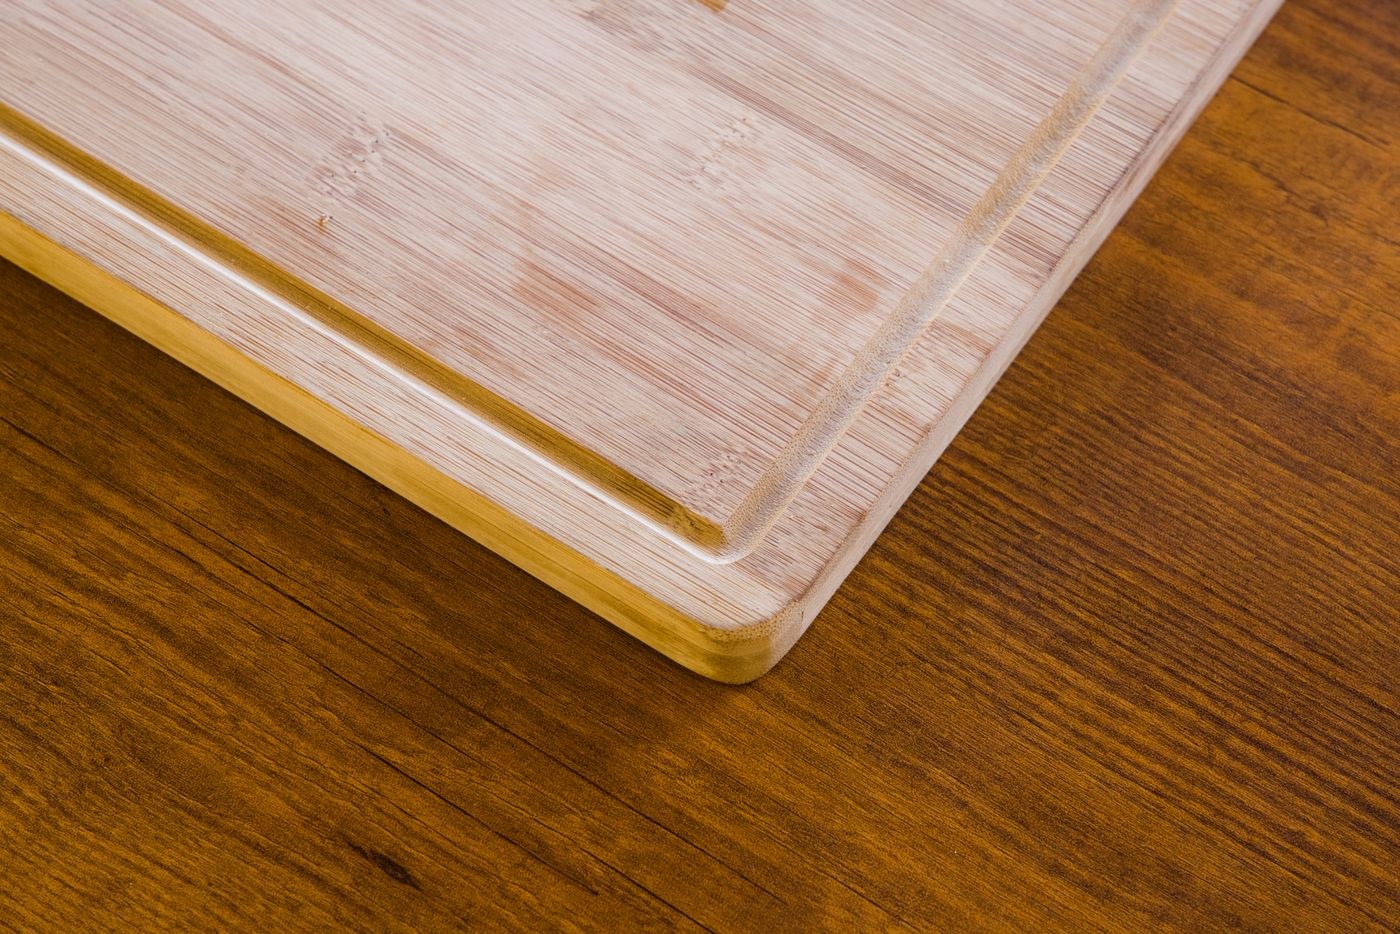
Choose a board large enough for the food and the knife movement without hanging over the worktop. Check that it sits securely on the surface. A board that rocks or slides is inconvenient regardless of whether it is wood or plastic. Consider its weight when carrying it to the sink and whether it fits your washing arrangement.
Plan separation between raw meat, poultry or seafood and food that will be eaten without further cooking. Separate boards can make that routine easier, but colour coding works only if everyone knows what the colours mean. A label on a storage slot may be more useful in a shared kitchen than an elaborate colour system nobody follows.
For a small kitchen, two modest boards may be easier to wash and keep separate than one oversized board that never fits the sink. Sketch where each board will sit during preparation and where it will dry afterwards. If the same worktop is used for raw and ready-to-eat foods, the cleaning sequence still matters even with separate boards. Separation includes the knife, hands and nearby handles, not only the board colour.
Cleaning permission depends on construction
Read the manufacturer's washing instructions. A solid wooden board, a laminated board and a board with removable rubber feet may have different limits. Do not infer dishwasher suitability from the material name. Clean after use, rinse and dry as directed, paying attention to juice grooves and the underside as well as the main surface.
If sanitising is needed, use a product suitable for food-contact equipment and follow its dilution, contact time and rinsing instructions. Do not mix cleaning chemicals. Routine washing and separation of tasks remain necessary even when a product makes an antimicrobial claim.
Dry boards in a position that lets air circulate rather than laying a wet board flat against the counter. Check feet, edges and handles for retained food. A deep groove around the perimeter may be useful for juices but adds a feature that needs access during cleaning.
A reversible board needs both faces cleaned if it has been turned over onto a contaminated counter. Likewise, a juice groove is not a containment guarantee when a board is carried across the kitchen. Plan how raw-food packaging and drips are handled so the board is not the only control in an otherwise messy sequence. Place clean ready-to-eat food on a clean plate rather than returning it to a surface used earlier for raw preparation.
Judge wear by cleanability
USDA guidance says excessively worn boards or those with hard-to-clean grooves should be discarded. That applies to both wood and plastic. A cut mark is not a precise measurement of risk, but a network of deep channels that retains food is a clear reason to replace the board or seek manufacturer-approved restoration advice.
Do not follow a random sanding method for a board with an unknown finish or construction. Ask the maker whether resurfacing is supported. If the board has split or a layer is separating, a cosmetic treatment may not address the defect.
For the next purchase, think about the failure you are replacing. If the board was too large to wash, choose a manageable size. If one small board served every preparation task, a second suitable board may improve the routine more than buying a more expensive material. Keep the decision tied to how food is handled in your kitchen.
Before replacing a worn board with a different material, identify what made the old one difficult to maintain. Deep decorative channels, removable feet that trapped residue or a size too large for permitted washing may have mattered more than the material itself. A plain surface with accessible edges can be easier to inspect. Keep the purchase focused on stability, separation and cleaning rather than a claim that one board material makes hygiene automatic.