Cleaning bottle lids, seals and drinking straws
The parts that touch your mouth are not always the parts that look dirty. A lid's recesses and removable seals need a cleaning plan of their own.
Use the disassembly diagram
Find the instructions for your exact lid before pulling it apart. Remove only components intended to come off for cleaning. Some mouthpieces pivot but do not detach, while others contain a removable valve beneath them. Forcing a part because a similar lid came apart in a video can damage the seal or locking mechanism.
Lay the pieces in a small tray beside the sink so a gasket does not disappear down the drain. If there are several rings, note their positions before removal. A photograph of the clean arrangement can help with reassembly, but it should supplement the manufacturer's diagram rather than replace it.
Reach the hidden surfaces
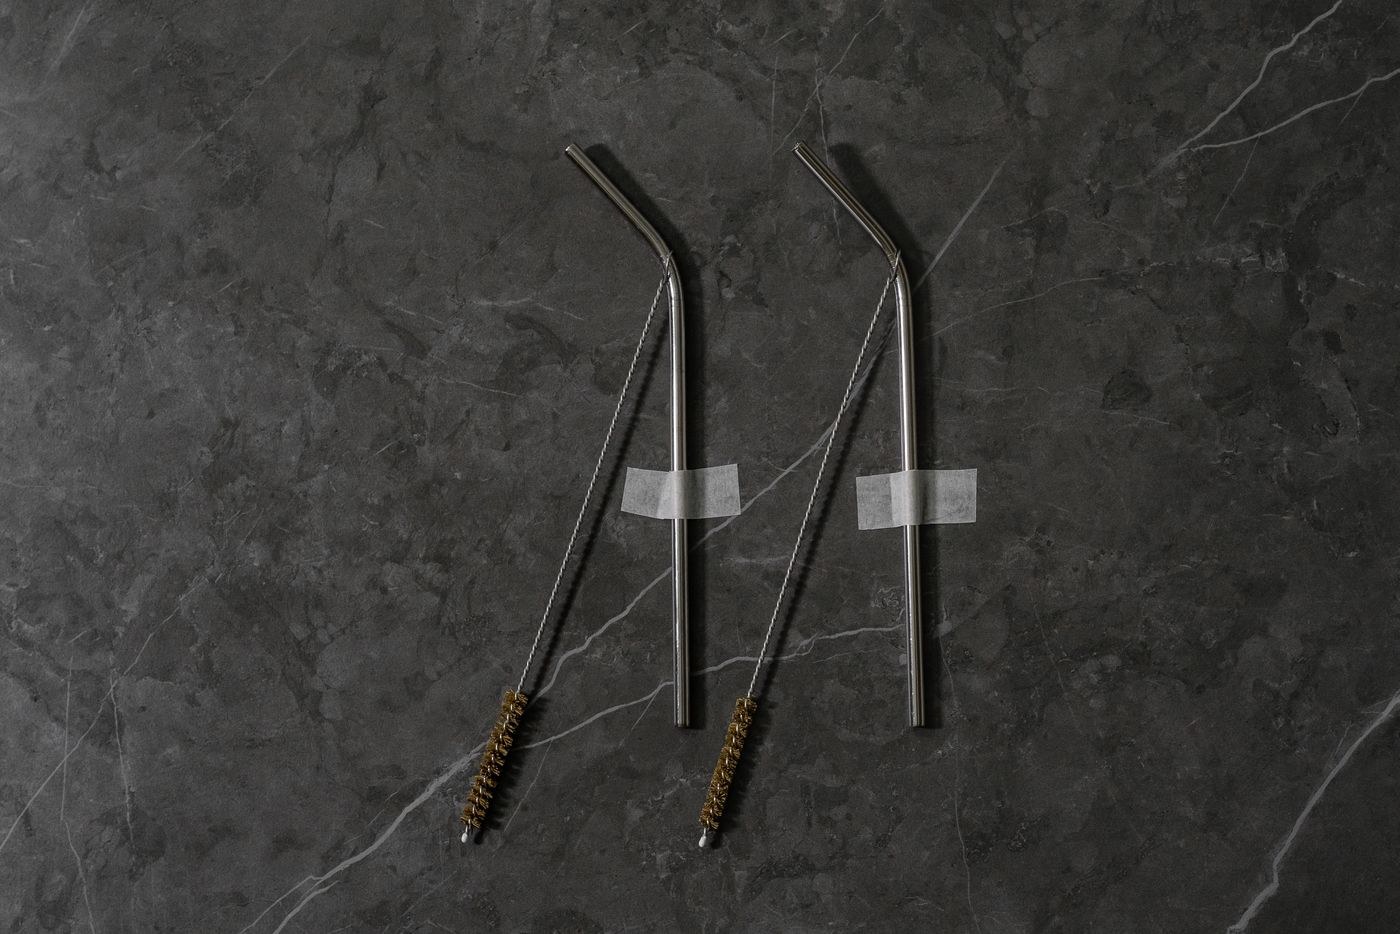
Use the permitted cleaning method for each component. A narrow brush can reach a straw's interior when it is designed for that diameter; forcing an oversized brush may damage the tube. Work around threads and mouthpiece recesses without sharp tools. Dishwasher suitability does not mean loose small parts should be placed where they can fall into the machine.
Inspect after washing. A film under a gasket or residue inside a drinking channel means the visible top surface was not the whole job. Rinse away the cleaning product and allow the separate parts to dry. Do not add fragrance to disguise an odour or pour strong cleaning chemicals into the bottle without explicit product instructions.
When a recess cannot be reached
If the instructions do not explain how to access an area that repeatedly retains residue, contact the maker. Ask whether the component can be replaced or whether a simpler compatible lid is available. A hard-to-clean closure is a design consideration, not a reason to invent an aggressive cleaning method.
Reassemble before the next fill
Refit seals in the specified direction and make sure valves are seated. A twisted gasket may look present while leaving a leak. Check the closure over a sink with a small amount of cool water where appropriate, then empty it. This checks assembly, not sanitation or suitability for hot drinks.
Keep a spare straw or gasket only when it is the correct part. Inspect for splits, rough edges or distortion and replace damaged components according to the maker's advice. Store a clean bottle with airflow when its instructions allow, rather than closing damp parts tightly overnight. The routine should be manageable enough to repeat after ordinary use, not just after an occasional deep clean.